|
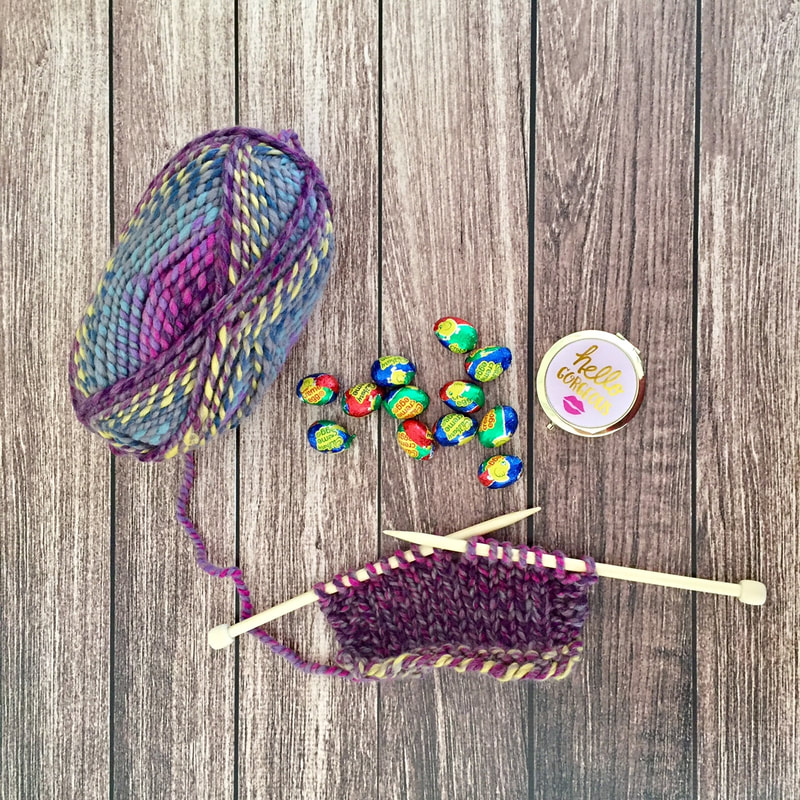
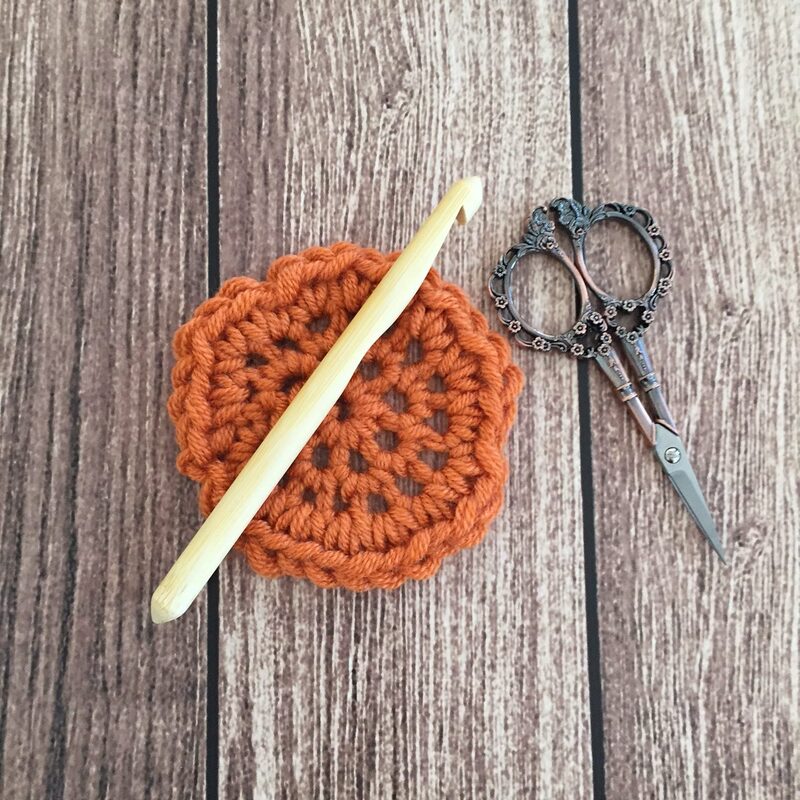
Lion Brand Blog, March 1, 2017 You don’t need a high-end digital camera to photograph your finished projects and do it well. Photography is about skill, not equipment. Sure, at a professional level, having the best lenses, filters, and cameras can help, but if you’re looking to shoot your finished projects to share on social media or a blog, how you take photos is far more important than what you use to do it. All you need is your phone, and we can teach you the rest. You can also get by without much in the way of photo editing. While Photoshop or another expensive software can allow you to make a lot of changes to pictures, if you set your images up right, you should have everything you need in the palm of your hand. Literally. All the photos in this post were taken with an iPhone 6, and weren’t processed beyond what can be done in the photos app that comes with the device. Setting Up Your Photos To minimize distractions and clashing, it’s best to have a plain, neutral backgrounds. White or a lighter wood are generally best. For these photos, I used vinyl backdrops that we have in the Lion Brand office, but if I am at home, I will usually use the wooden top of my kitchen island. In a pinch, I’ve also used hardwood floors (make sure to sweep first!). Play around a little with the backdrop! You can try different places with different items, too. Some yarns might play best off white, while others look good on black. You may be able to set some on grass or carpet, depending on the color and texture. Backdrops that you can purchase online are another option, if you want, but most of the time you should be able to get away with surfaces in and around your home. Read the rest of this post on the Lion Brand blog.
Comments are closed.
|
|

